Before you say, “not another pixel!”, let us be candid enough to tell you that if you run Facebook ads, the pixel is a must. A Facebook pixel on your website can not only help you track lead converting on your website but also improve your ad management.
If you are in the e-commerce business:
-
- You can retarget your website visitors to promote sales. Not every visitor will purchase on your website. With retargeting through marketing campaigns, you can incentivize your web visitors, cart abandoners to come back and purchase the product.
-
- You can also cross-sell products or run discount campaigns.
-
- You can extend reach through lookalike audience to sell to new customers.
If you are in lead-based business:
-
- You can retarget web visitors and run lead magnet campaign (free webinar, downloads etc) to get more leads
-
- You can exclude the current leads so as not to retarget existing leads
-
- You can create lookalike audience based on website visitors to get more leads.
How to set up Facebook Pixel:
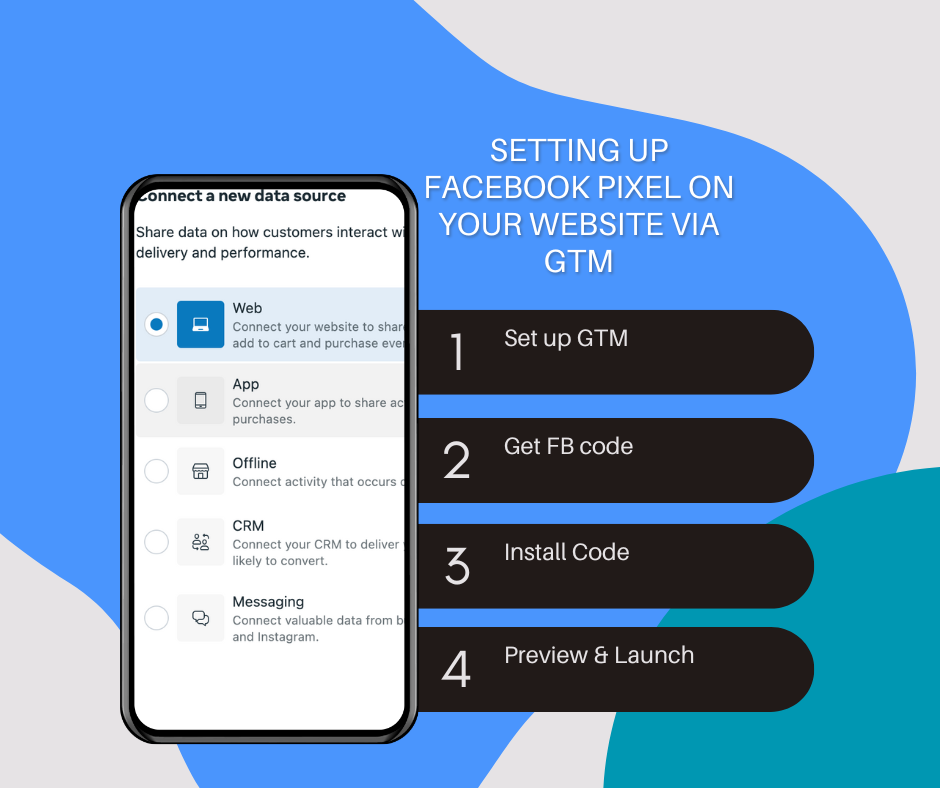
If you have a business manager account, go to Events Manager, and click on the green + button which reads Connect Data Sources. Choose Web, and name your pixel, enter your website. If you are on specific platforms like Shopify, WordPress, Webflow, you can use partner integration. Or you can simply install the code manually. Once you go for the manual option, there will be a base code shown on the screen. You can either share it with your developer to hard code it. Or you can use Google Tag Manager to set it up yourself. See the below video to see how to use GTM to set up a Facebook pixel.
Steps to use GTM to set up Facebook pixel:
- In your GTM workspace, click on new tag. Choose custom html tag as your tag type.
- Copy the base code from events manager and paste it in the html container
- Under Advanced settings, select once per page (default is once per event)
- Set the trigger to All pages
- Go to Tag Manager preview mode, connect your website, and verify the set up.
- Publish the tag live.
Verifying your Setup:
- You can download Facebook pixel helper chrome extension and visit website on your browser. The extension will show you the FB pixel code.
- You can go to events manager, go to test events, enter your website in the test browser events, and click on open website. It will open your website in new tab. Go back to events manager and it will show as “receiving activity”.